Welcome to the Help Center! 👋
Welcome to the Help Center! 👋Start
Security and TrustSupported EnvironmentsID VerificationPrivacy and GDPRSigning documentsSystem StatusWallet-Login
Security and Trust

Signing documents

Together offers something very special: you can sign documents in a meeting and then turn them into a sealed PDF and download them. This means that everyone has signed documents immediately available to them in the room or elsewhere, e.g. locally on their own hard disk.

During the technical sealing process, the date and time as well as the names of the signatories and proof of identity are also recorded, e.g. ID proven by ID card or only known by e-mail.

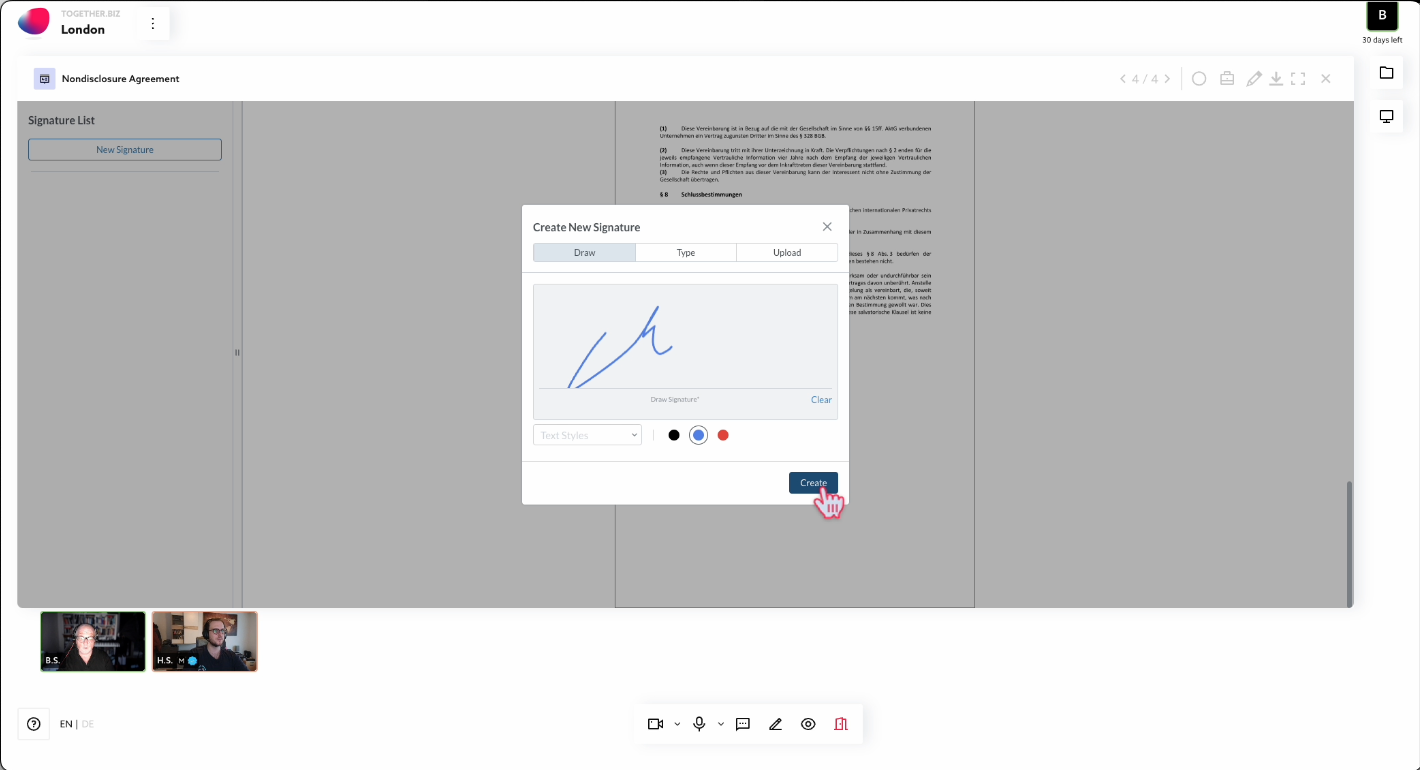
This is what it looks like when someone makes a signature and then signs in the room:
"My signature flows" panel

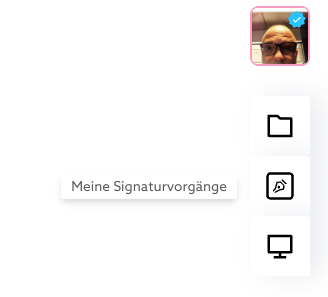
As there may be many documents that need to be ready for signing at the same time, we have created a separate area called "My signature flows". This can be accessed at any time via the button at the top right with a pen icon:
We talk about flows because signing simultaneously in one room was super-convenient, but it can also make sense for users to sign later. For this purpose, there are "flows" that can be closed at the end with the last signature - and later we will also enable workflows, e.g. for approving budgets and invoices.

Working with the "Signature flows" panel

Before you can start a signature process, you need a document to sign. Therefore, you drop a PDF document in the drop zone at the top, it is then automatically imported and made available as a template.
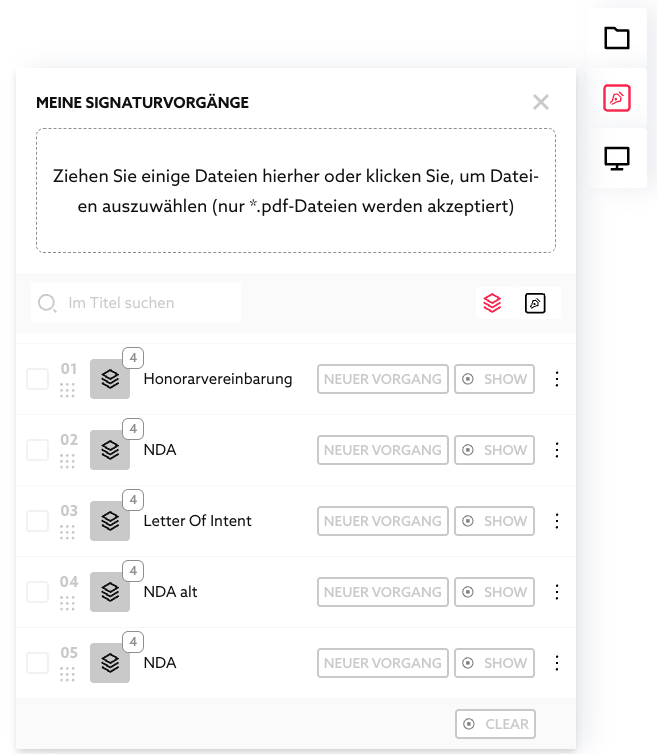
Since you often use the same templates, which are then signed from case to case, imported documents are templates that can be used multiple times.

Templates have this icon:

Batch icon for templates

Before you can have this template signed, you first create a copy with the "NEW FLOW" button, which can then be changed with the signatures and "consumed", so to speak.

Processes have this icon

Privacy and GDPR

Previous Page

System Status

Next Page

On this page

"My signature flows" panelWorking with the "Signature flows" panelSigning a document (participant view)Starting a signature process (owner view)The result: A technically sealed document with signaturesChecking the sealed document

Filler icon for processes

After "NEW FLOW", Together changes the list view and only shows the templates instead of the flows the templates so that you can start signing straight away.

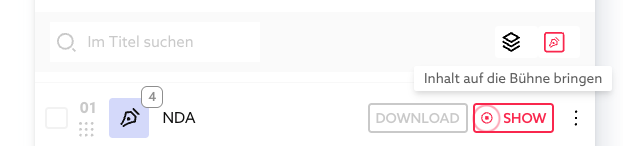
The buttons (here on "NDA") change and with SHOW you can bring the document to the stage:

List with process, you can bring a document to the stage for signing

With the two buttons (stack and pen) you can switch between the document types template and flow. The elements of the list then change.

Signing a document (participant view)

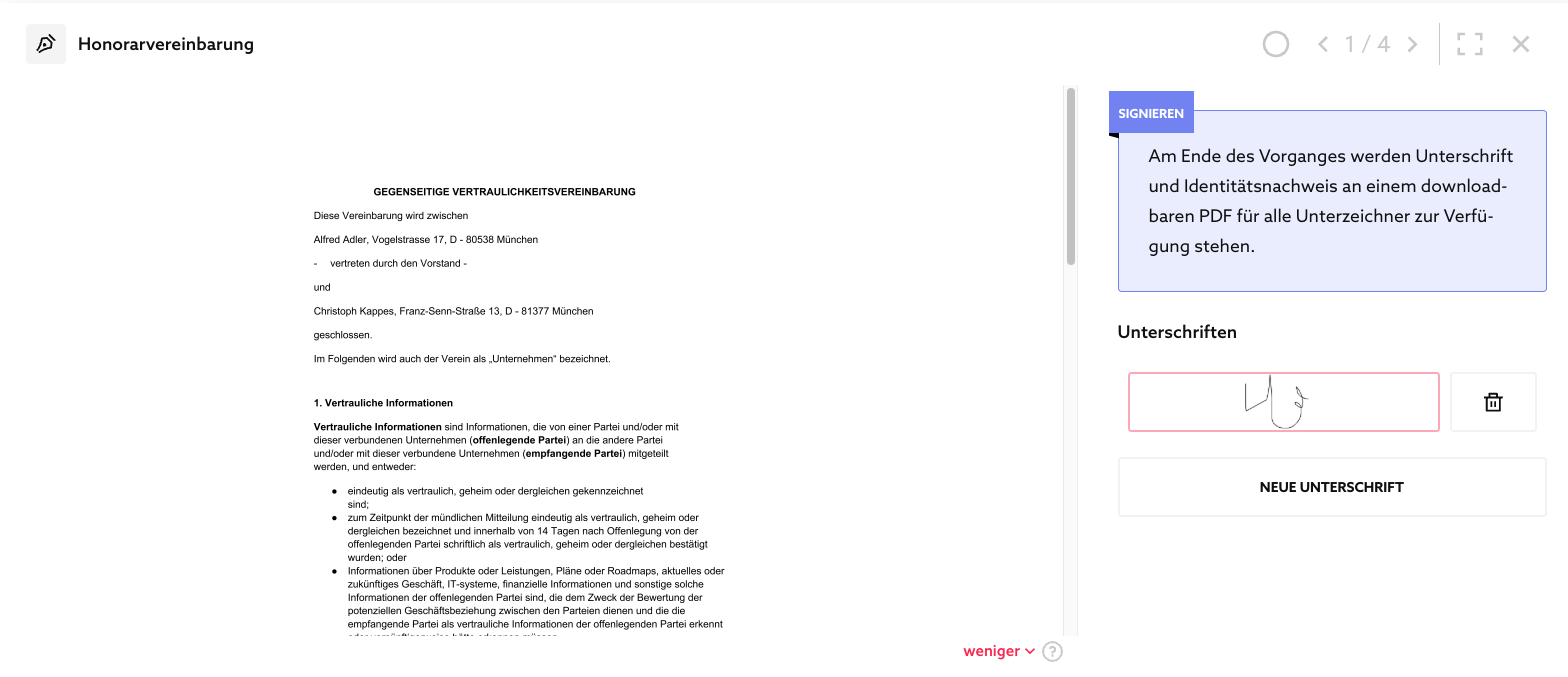
If such a document is on the stage for signature, you can recognize this by the area on the right.

It says

**Sign: **At the end of the flow, the signature and proof of identity will be available in a downloadable PDF for all signatories.

You will then have to "paint" your signature below this before you can sign for the first time. (Button "NEW SIGNATURE")

Card with document on the left, signature panel on the right

To sign, it is best to first scroll to the point where the signature is to be applied. Then click on the signature (the "scribble") on the right and then move the mouse (do not hold the mouse button down!) to the left on the document. The signature is then applied where you let go.

The flow can only be completed by the person who started it, so it is best to wait until you receive a signal from them. This is usually when everyone has signed. The moderator then ends the flow and everyone sees the "DOWNLOAD" button, with which everyone can download their copy. The copies of all participants are of course the same.

Starting a signature process (owner view)

To start a process, click on "NEW FLOW" in the list to the right of the desired template:

It is then best to explain to the participants who is to sign and that they must first create one using "NEW SIGNATURE". Then click on it and click on the place on the document where the signature should be affixed.

The result: A technically sealed document with signatures

After completing a flow, anyone can download the sealed PDF by clicking on the "DOWNLOAD" button:

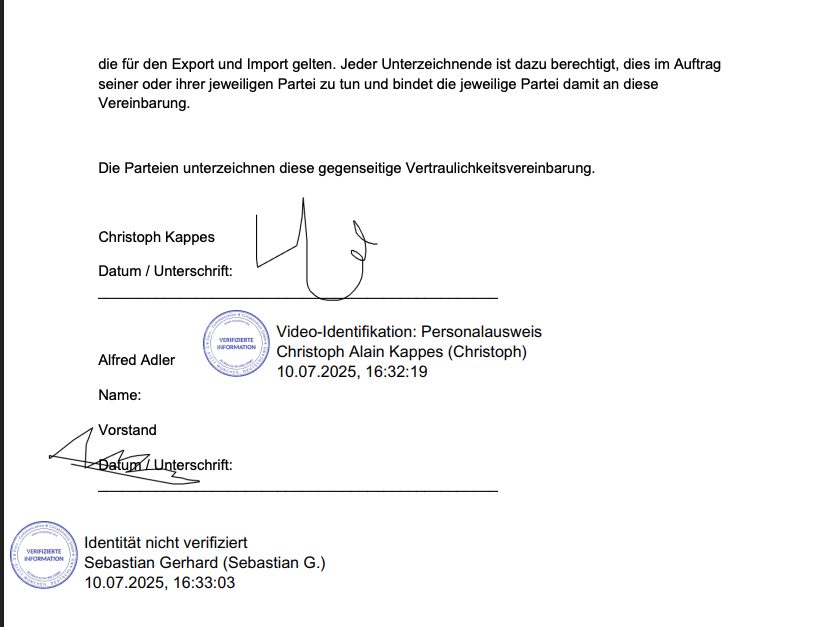
The PDF then bears signatures and a stamp.

The stamp contains additional data:

  • The name with which the user is registered with Together, if they have entered it
  • The type of identification:
    • E-mail
    • Digital wallet
    • Video ID
  • Date and time

The name entered by the user is only checked in the video ID procedure. Always make sure of the user's identity, especially in the meeting itself. Please also note that without the video ID procedure, any user can enter any name. We confirm the integrity of the sealed document - the identity only at the level specified in the stamp.

Checking the sealed document

We confirm the integrity of the sealed document - the identity only at the level specified in the stamp.

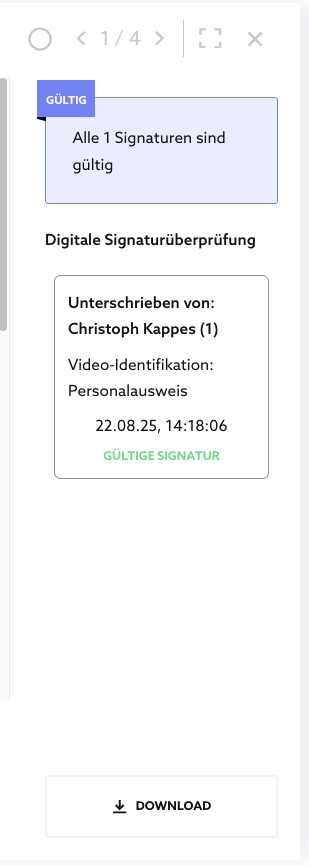
This technical integrity means that no one has changed the document since it was sealed.

You can see this in Together...

... and also without Together with any Adobe Acrobat Reader and similar....

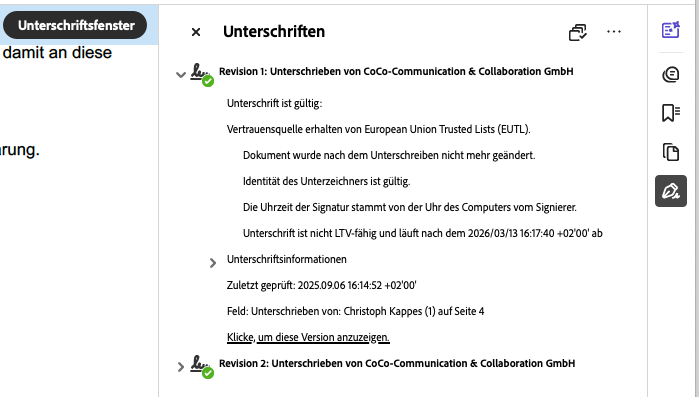
...and if you click on "Signature window" in Acrobat Reader, you can also see details:

You see: The validity of the document is confirmed by Coco GmbH, we are the issuing party because we are the manufacturer and operator of Together.

Published Oct 2, 2026